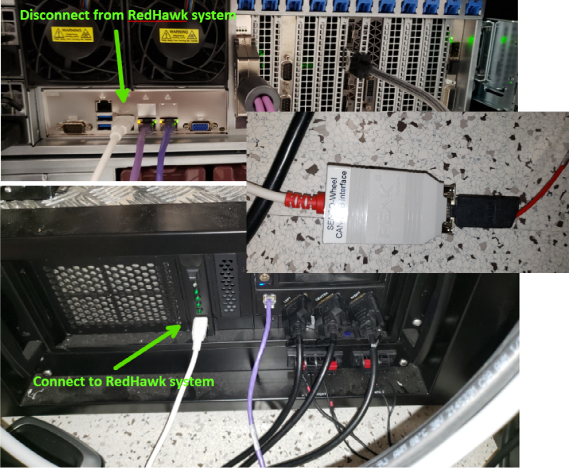
Before we can verify that both the Senso wheel and pedals are running correctly, we must change the PCAN-USB connection that is connected to the RedHawk system by disconnecting it and plugging it to the Windows CXC system.

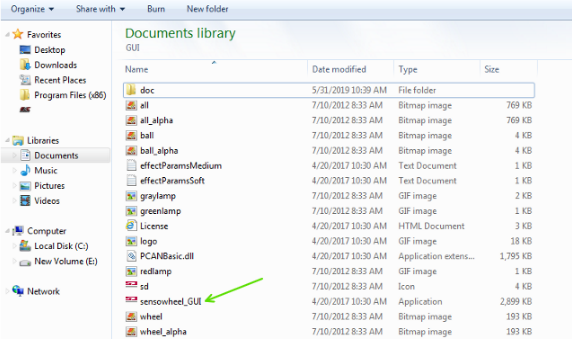
Now we need to run the Senso Wheel GUI application. It should be in the following directory - C:\Users\Owner\Documents\Senso\Wheel\GUI. Click and run the application.
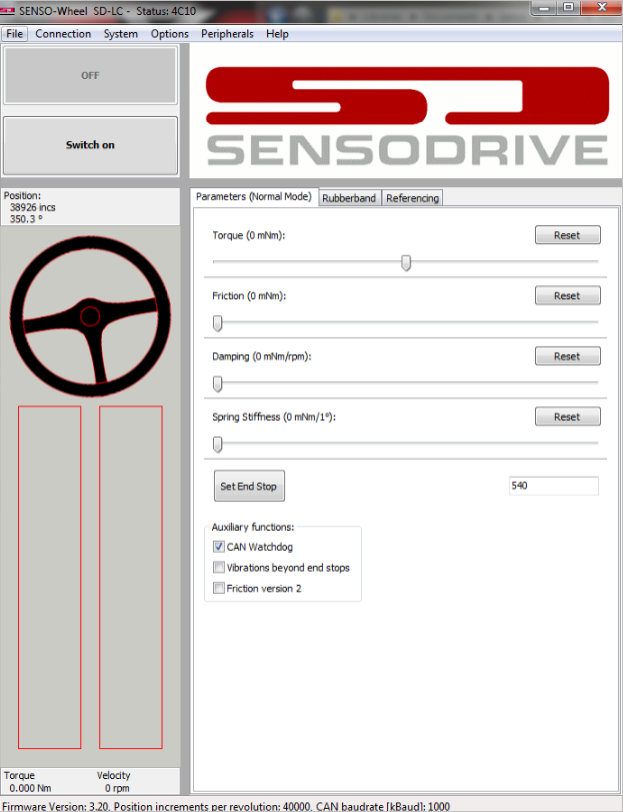
Click on the “Switch On” button.
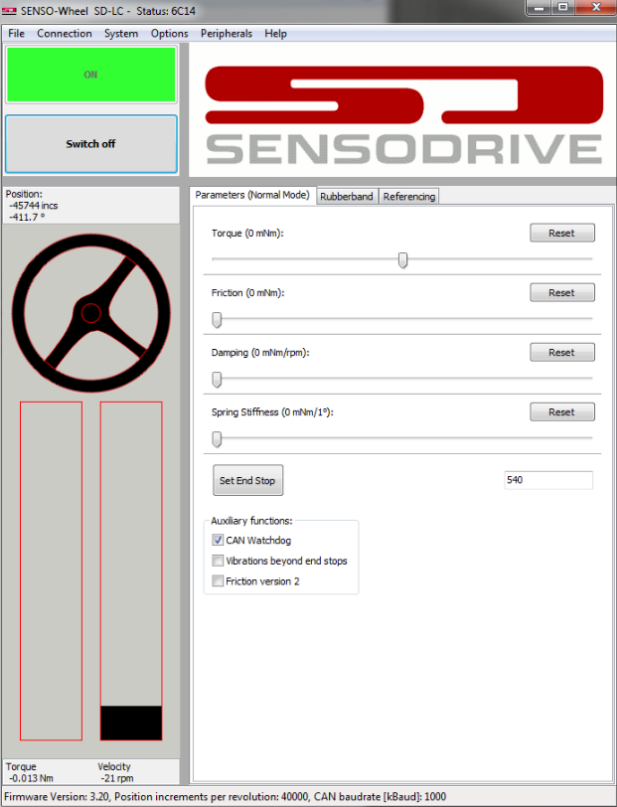
Now grab the steering when and turn the wheel all the way to the left and all the way to the right and confirm that the wheel icon on the GUI is also turning towards the same direction you are turning the wheel to. Also confirm that the torque and velocity bars are adjusting as well.
Before verifying the pedals, it is important that you close the Senso Wheel GUI before proceeding. After that is done, open the Senso Pedals GUI application which is located in C:\Users\Owner\Documents\Senso\Pedals\GUI.

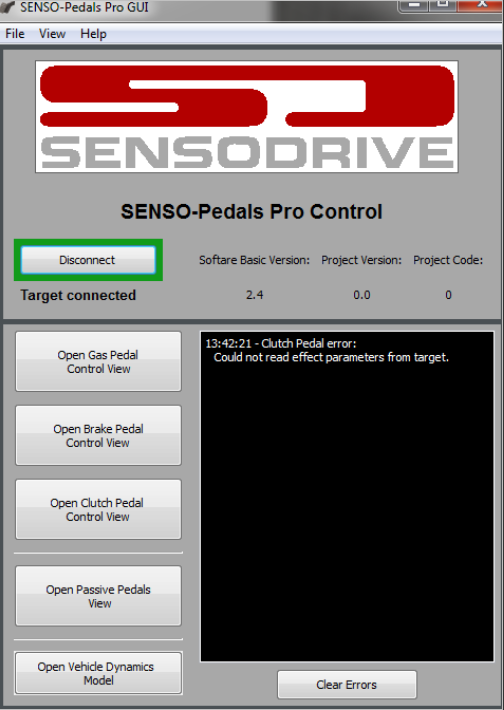
Click on the “Connect” button.
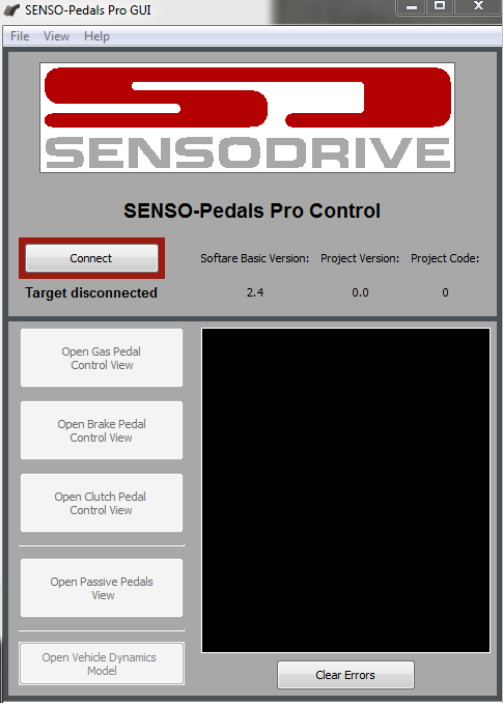
Now click on the “Open Gas Pedal Control View” button to verify the gas pedals.
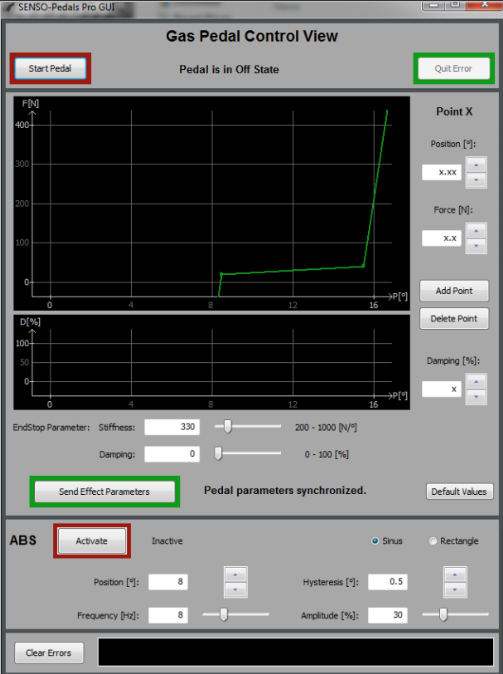
Click on the “Start Pedal” button on the top left corner.
You should get the following warning below.
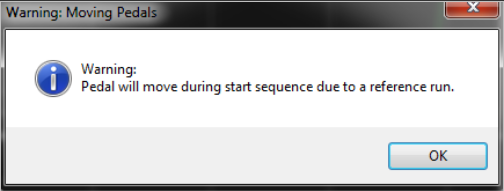
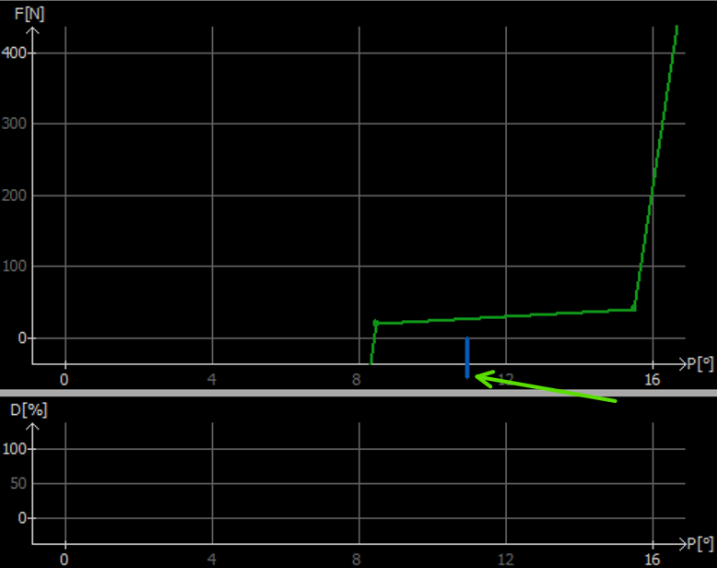
Select “OK’ and the gas pedal should now move into position as well as display that the pedal is in the On State in the Senso Pedal GUI. Now place foot on gas pedal and accelerate and decelerate the gas pedal. Verify that the blue marker on the graph moves according to the amount you accelerate/decelerate on the gas pedal.
Next we need to verify the brake pedals. Back on the main screen, in the Senso Pedals GUI, select the “Open Brake Pedal Control View” button.
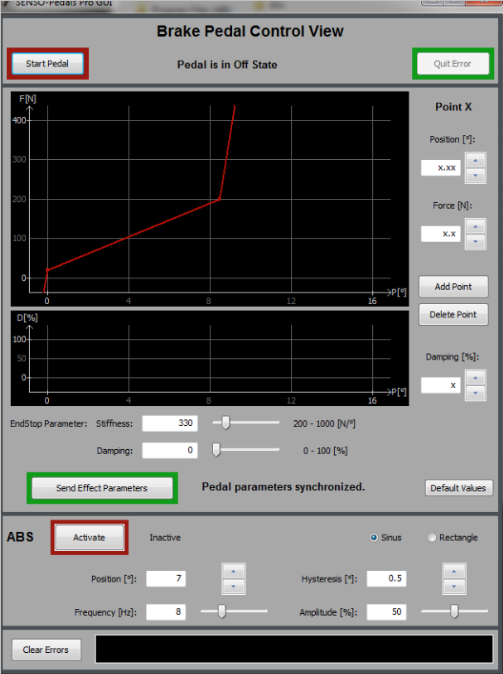
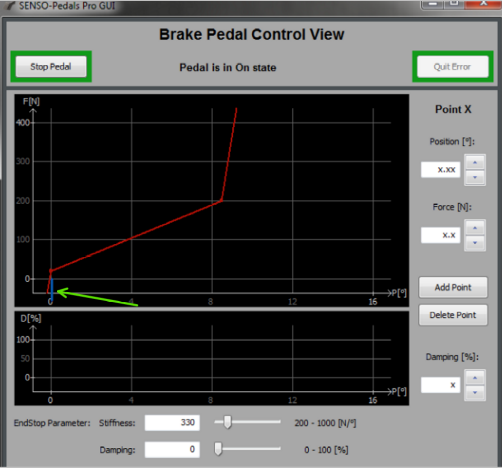
Click on the “Start Pedal” button and you should get a similar warning that the pedal will move into position for testing. Continue by selecting ok and wait for the brake pedal to complete moving into an active position. Now place foot on brake pedal and verify that the blue marker on the graph moves and corresponds to the amount of brake applied by your foot.

|
SensoWheel |