How to Download .pck Files for RTMaps
Setting Up RTMaps in SIMulation Workbench
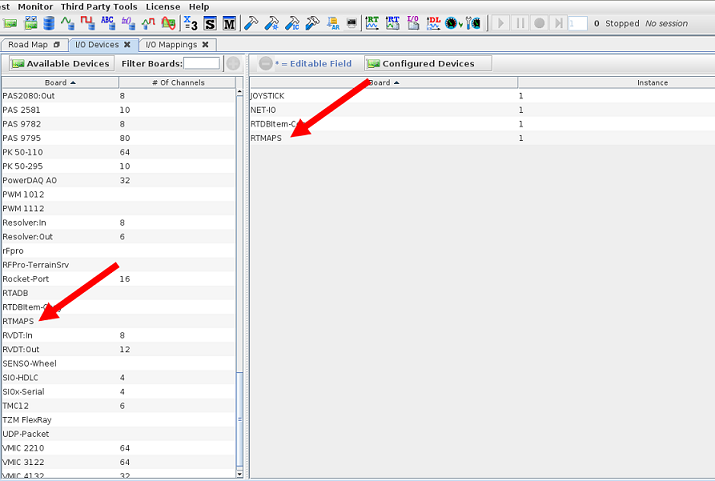
1. Open SimWorkbench and open the I/O Devices tab
2. Select the RTMaps board if it is not already there.

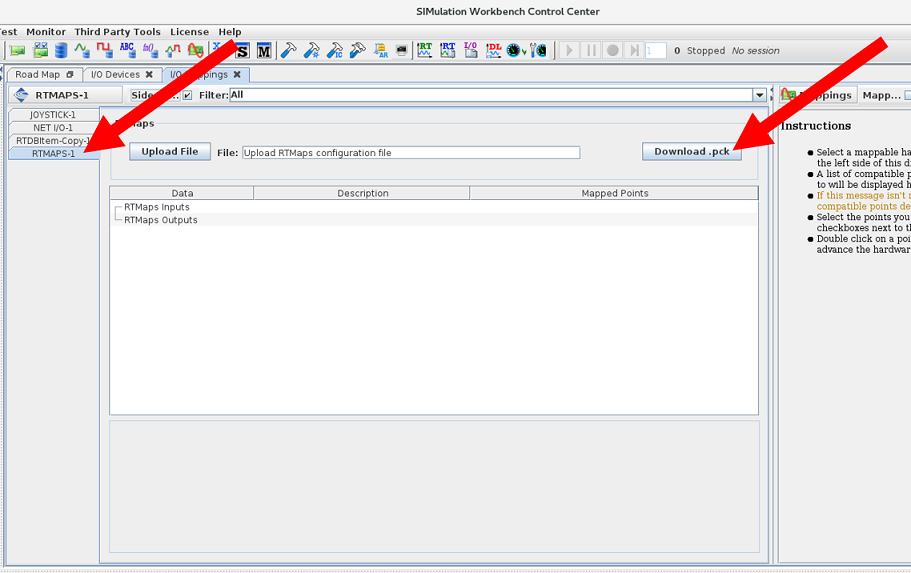
3. Open SimWorkbench and open the I/O Mappings tab
4. Click on the RTMAPS tab and select the "Download .pck" button
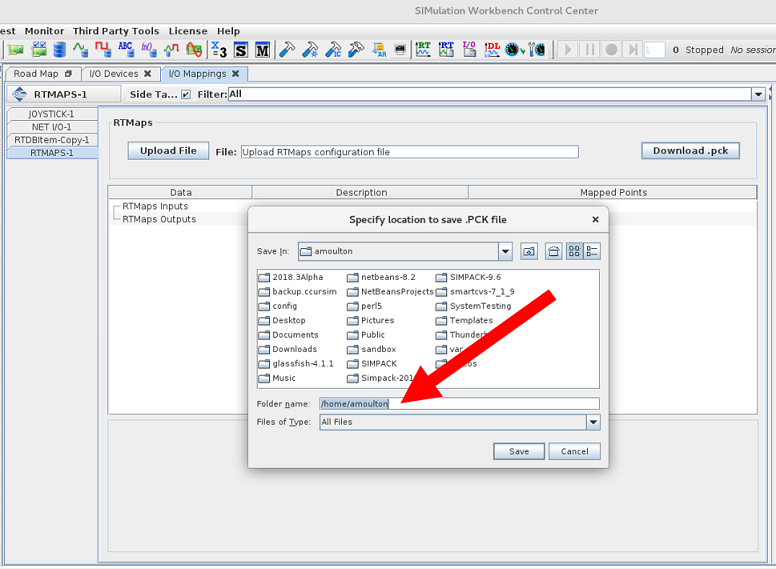
5. Set the directory you want to download the files to.
6. Untar the tar.gz file and you will find the following .pck files inside.
1. Open up RTMaps Studio and create a new diagram or add to an existing diagram.
2. For this example, we will create a new diagram called "integerTest.rtd".
3. In the search bar of the "Registered Components" section, look for the "Random integers" component.
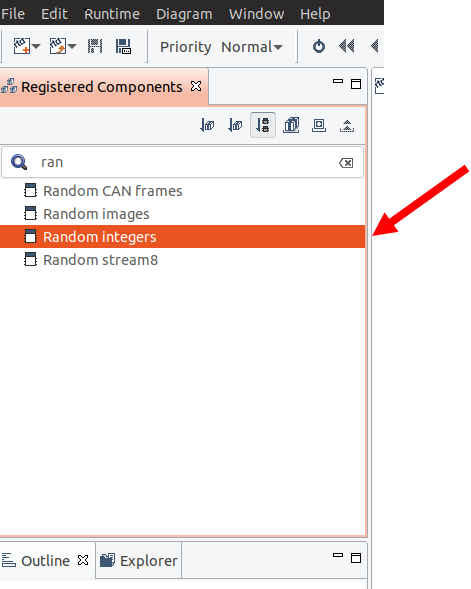
4. Drag a "Random integers" component onto the diagram.
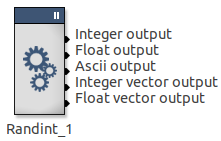
5. Click on the "Register Package" button found in the toolbar of the "Registered Components" section and a pop-up window will appear.

6. Find the "simwbserializer.pck" file and open it.

7. Back in the search bar, type in "simwbserializer". You should see now see the "simwbserializer" component.
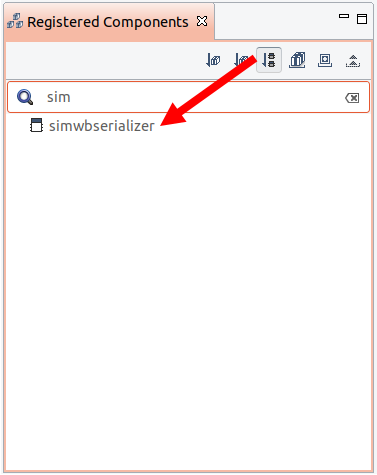
8. Drag a "simwbserializer" component onto the diagram.
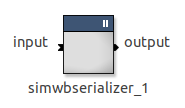
9. Next drag a "UDP Socket" component onto the diagram.

10. Also drag a "Data viewer" component onto the diagram as well.
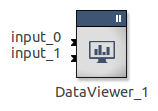
11. Connect the output of the "Random integer" component to the input of the "Data viewer component" and also the input of "simwbserializer" component.
12. Connect the output of the "simwbserializer" to the input of the "UDP Socket" component.
13. Your diagram should look similar to the diagram below.
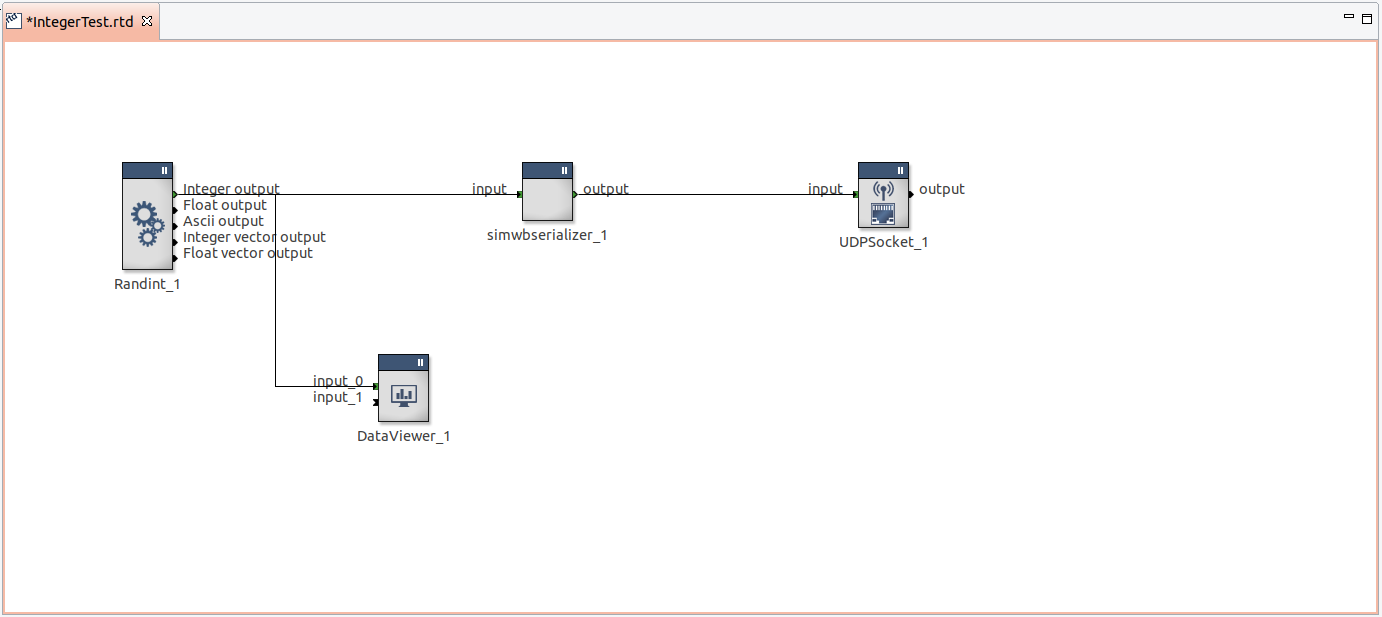
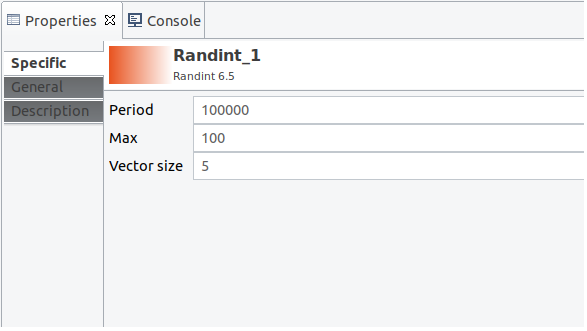
14. Click on the "Random integer" component and enter your values in the "Properties" tab for the "Period" and "Max" fields.
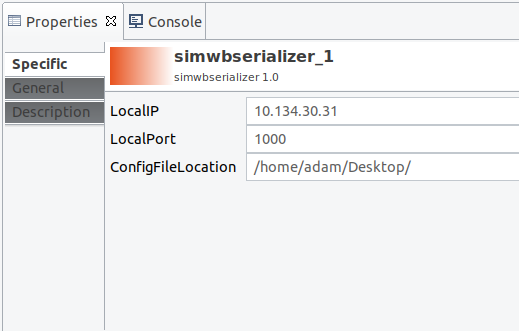
15. Click on the "simwbserializer" component and enter the ip address of the machine running RTMaps Studio in the "LocalIP" field.
16. Enter the port number you will want the RTMaps Studio host machine will be communicating on in the "LocalPort" field.
17. In the "ConfigFileLocation" field, enter the location where the configuration file will be created in.
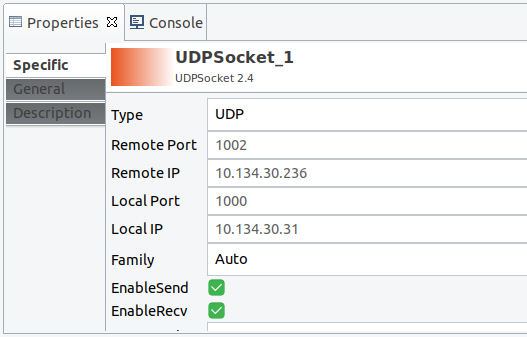
18. Click on the "UDP Socket" component and enter the ip address of the machine hosting SimWorkbench in the "Remote IP" field.
19. Enter the port number that the machine will be communicating on in the "Remote Port" field.
20. In the "Local Port" field, enter the same number you used in step #16.
21. Quickly run the diagram momentarily by pressing the "Run/Shutdown" button. This will create a configuration file in the location entered in step#17.

22. Stop running the diagram and save it. We will need to run the diagram again once everything is set up in SimWorkbench.
1. In SimWorkbench, create a new rtdb or use an existing rtdb.
2. Open the "I/O Devices" tab and scroll down the list and select the "RTMAPS" device
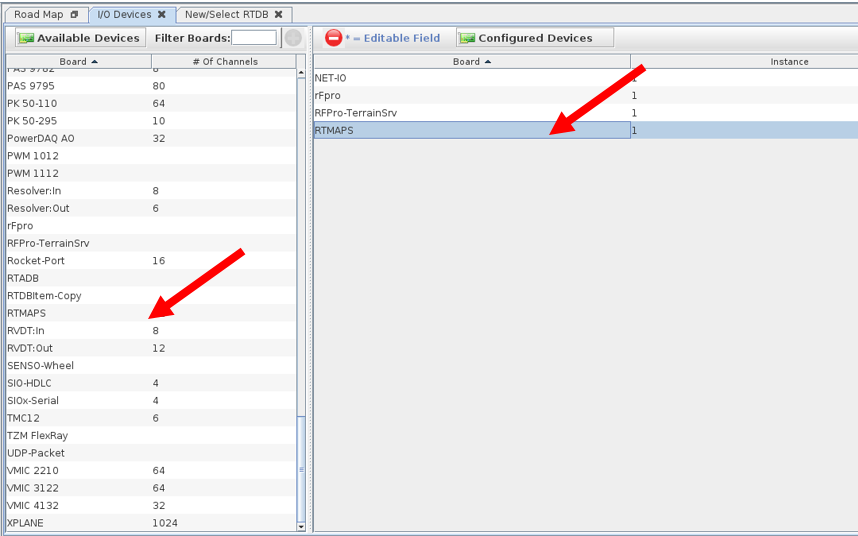
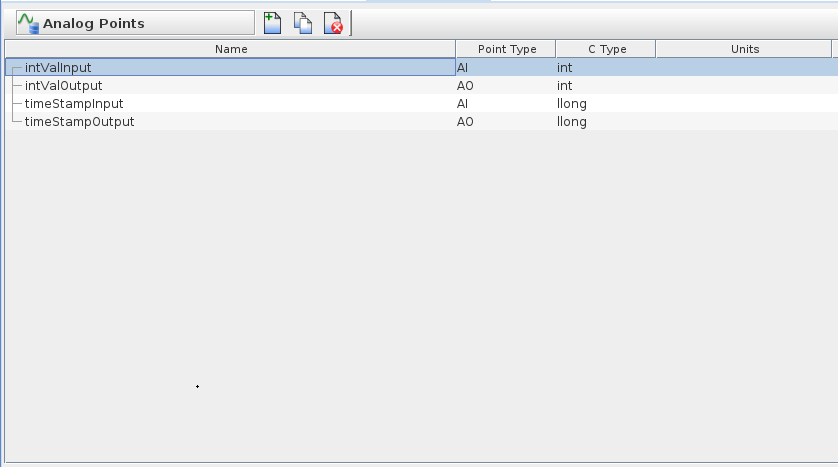
3. Create four analog mapping points. Two of them will be outputs and the other two will be inputs.
4. One of the inputs should be of the type llong and the other input should be of type integer
5. Do the same for the two output mapping points
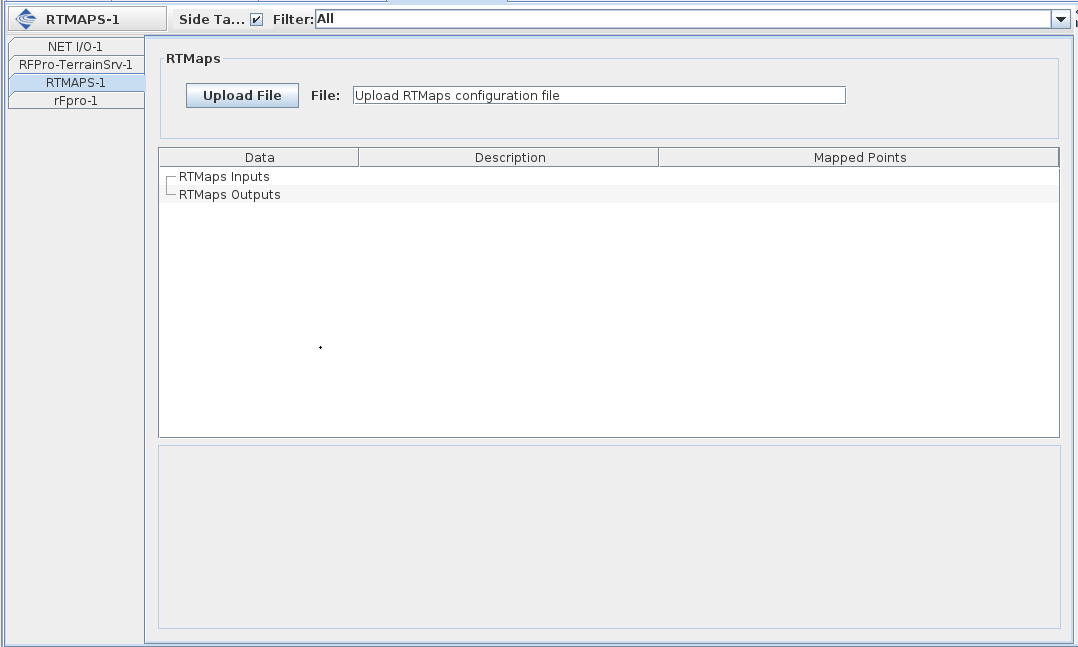
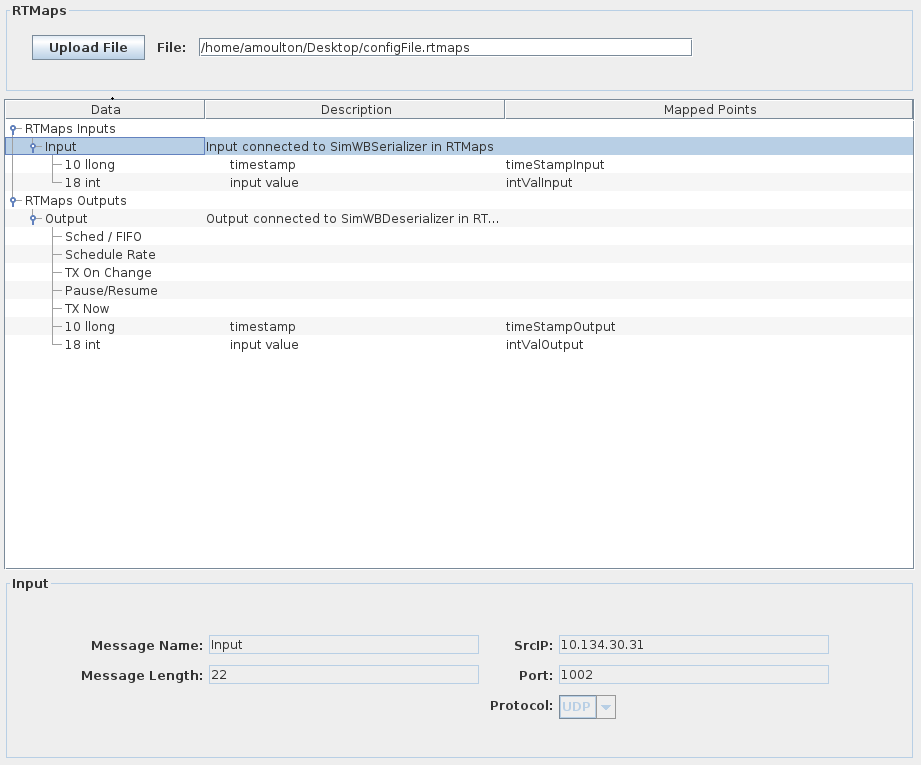
6. On the "Upload File" button, upload the file, configFile.rtmaps. This is the file generated in step#21
7. Map the "I/O Mapping" points that were created to their respective fields
8. Go to the "Create a Test" tab and create a new test
9. Then go to the "Create a Session" tab and create a new session.
10. Run the test Session while simultaneously running the RTMaps diagram again in RTMaps Studio.
11. Open the "Real-Time Viewer" tab and verify that the I/O points that were mapped are now updating with the values being sent from RTMaps Studio.

|
NAI76C2-K6 | NET JOYSTICK |

|