 |
|
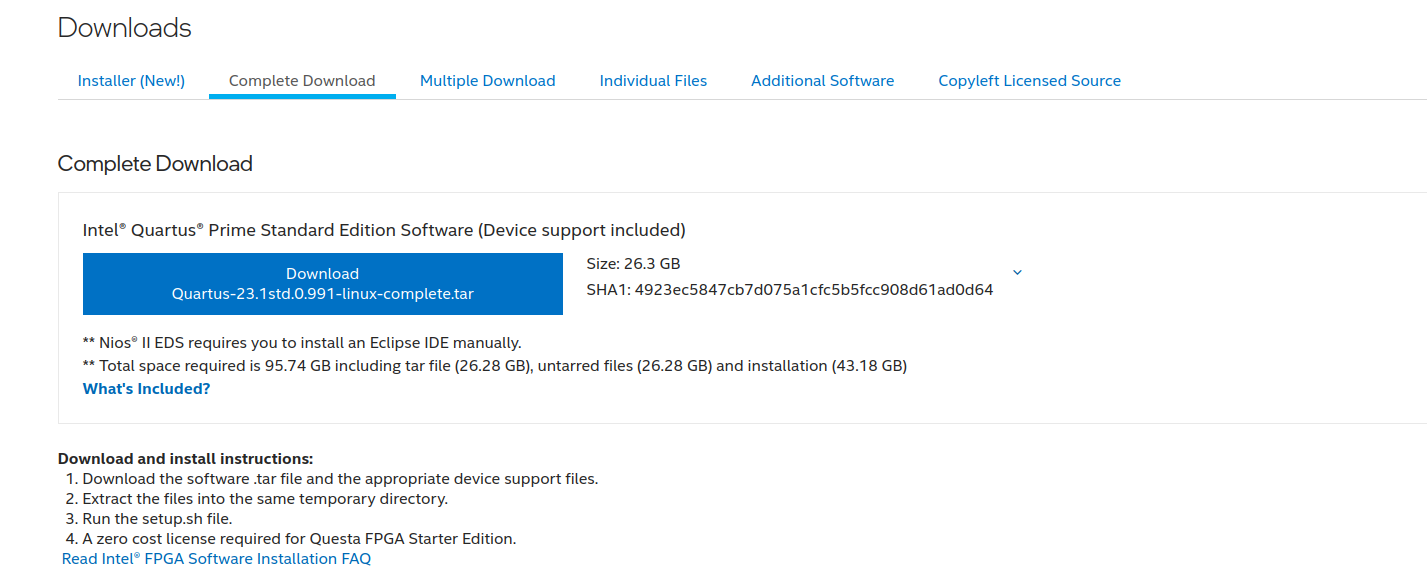
Please visit www.altera.com to download the supported version(20.1.1 or 23.1) of the Quartus Prime Standard or Pro Edition software. Also, download the device package for Arria series devices. Please see figure below for reference. Once insallation is completed, launch Quartus to import the Quartus license.
Note: Nios V/g supported only in Quartus version 23.1

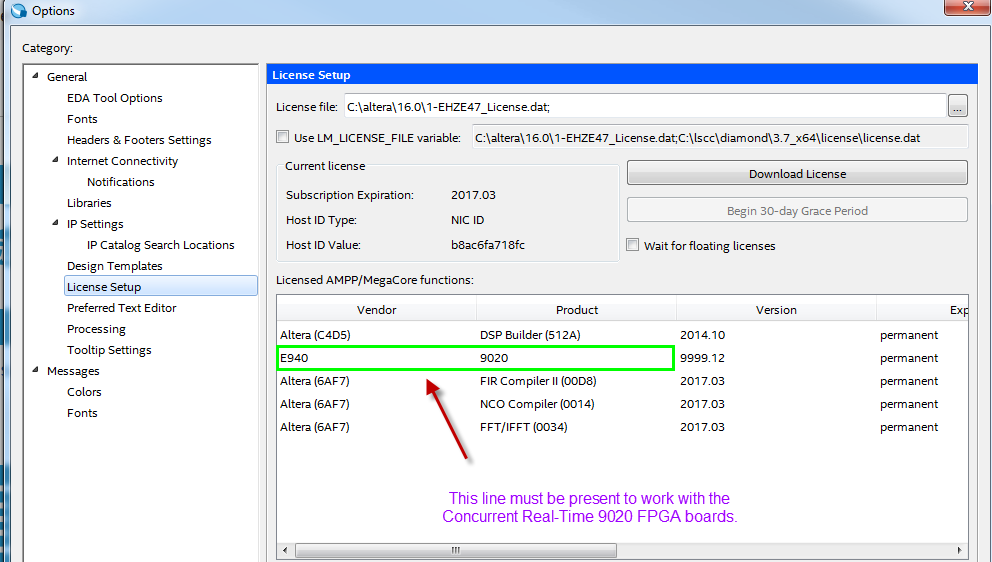
Open the Quaruts license file in a text editor and make sure the license file contains the "FEATURE_E940_9020" section. If this section is not present in the license file, please contact support@concurrent-rt.com to get the this feature added. Please add the code to the feature to the very bottom of the license file. In the Quartus menu, select Tools -> Options -> License Setup to import the license file. When the license file is imported, the feature E940 should be visible. Please see the figure below for reference.
Download the FPGAWB ISO image.
Linux
Become root, mount the ISO image or physical media and run the install-fpawb install script.
# mkdir /media/FPGAWB
# mount -o loop fpgawb-2025.1-0.iso /media/FPGAWB
or
# mount /dev/dvd /media/FPGAWB
# cd /media/FPGAWB
# ./install-fpgawb
Any non-root user using FPGAWB should be added to the "fpgawb" group using the usermod command. Eg: sudo usermod -a -G fpgawb <username>
Windows
Insert the physical media into the DVD drive or you can choose to mount the downloaded ISO using any virtual drive software (WinISO) or use 7zip to extract the content and install from there. If auto run is enabled, allow it to run Setup.exe. Otherwise, open the DVD drive in Explorer and double-click on Setup.exe (or Setup, if file-name extensions are hidden).
The following window will open (if the environment variable DISPLAY is set to an X display in Linux)
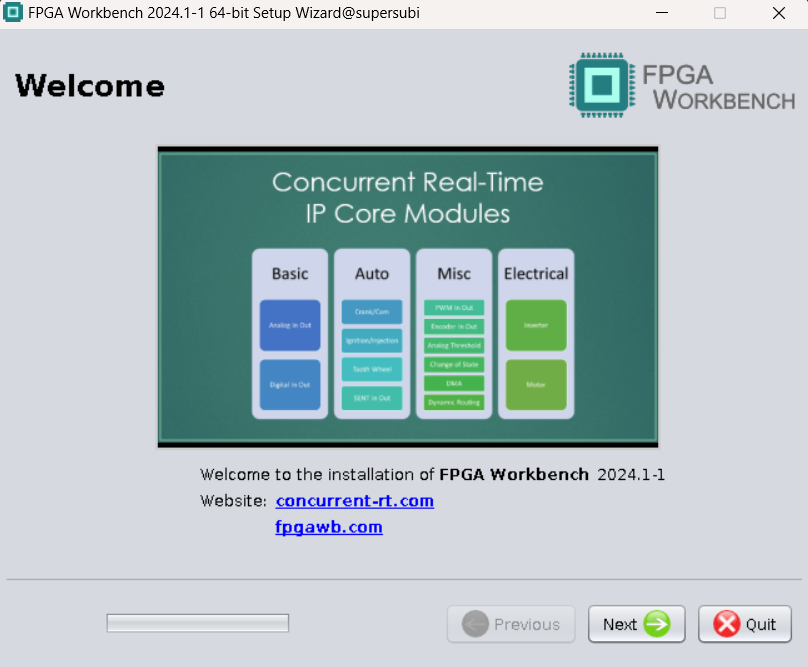
Clicking Next will take you to the License Agreement screen. If you accept the terms of the license agreement, you can click Next which will take you to the Install Manager screen. If the installer detects a previous installation of FPGAWB, the Uninstall Manager radio button will be enabled. Based on the radio button selection on this screen, clicking Next will take you to the Install Components screen or the Uninstall Screen.
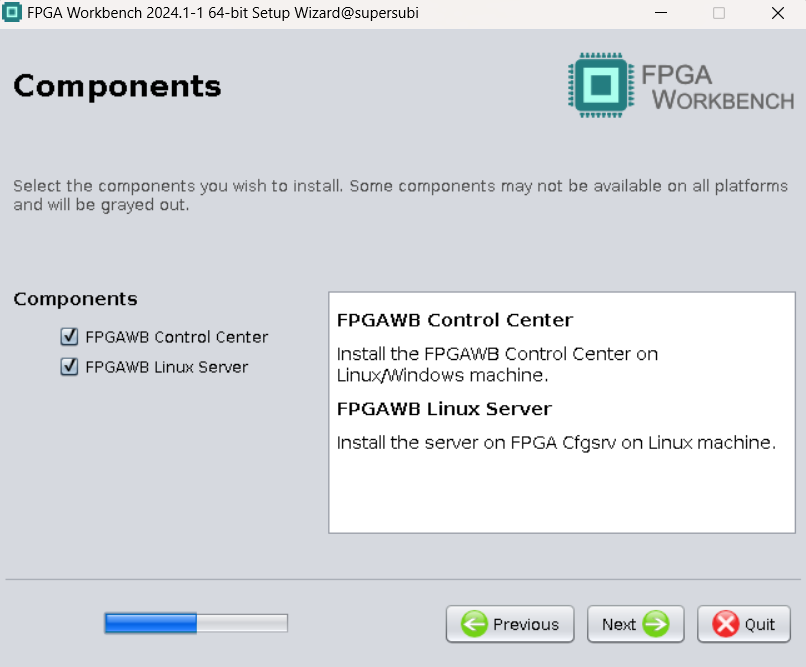
The Components selection screen on RedHawk differs from the same screen on other operating systems including Windows. The FPGAWB Linux Server component can only be installed on the RedHawk system. Install the FPGAWB Control Center on the system where Quartus is installed. Clicking Next will take you to the Destination selection screen. On Linux the destination folder is hard-coded to /usr/local/fpgawb. On Windows the users have an option to choose a different install location. The default is C:\Program Files\Concurrent. To prevent possible conflicts, the previous version of FPGAWB should be uninstalled or moved. Uninstallation will delete all the folders except for some configuration files and user created projects. We still recommend you backup your user files in the installation directory before proceeding with the installation. Selecting the radio button for uninstalling will uninstall components before installing the newer version of FPGAWB. Clicking Next on this screen will start the installation process and display the Install Log screen.
Open Altera Quartus. In the top menu select
Tools -> Options -> IP Catalog Search Locations
Add the following paths to the Global IP search directories:
<fpgawbinstalldir>\<fpgawbversion>\avalon_slaves_burst\qsys_tcl
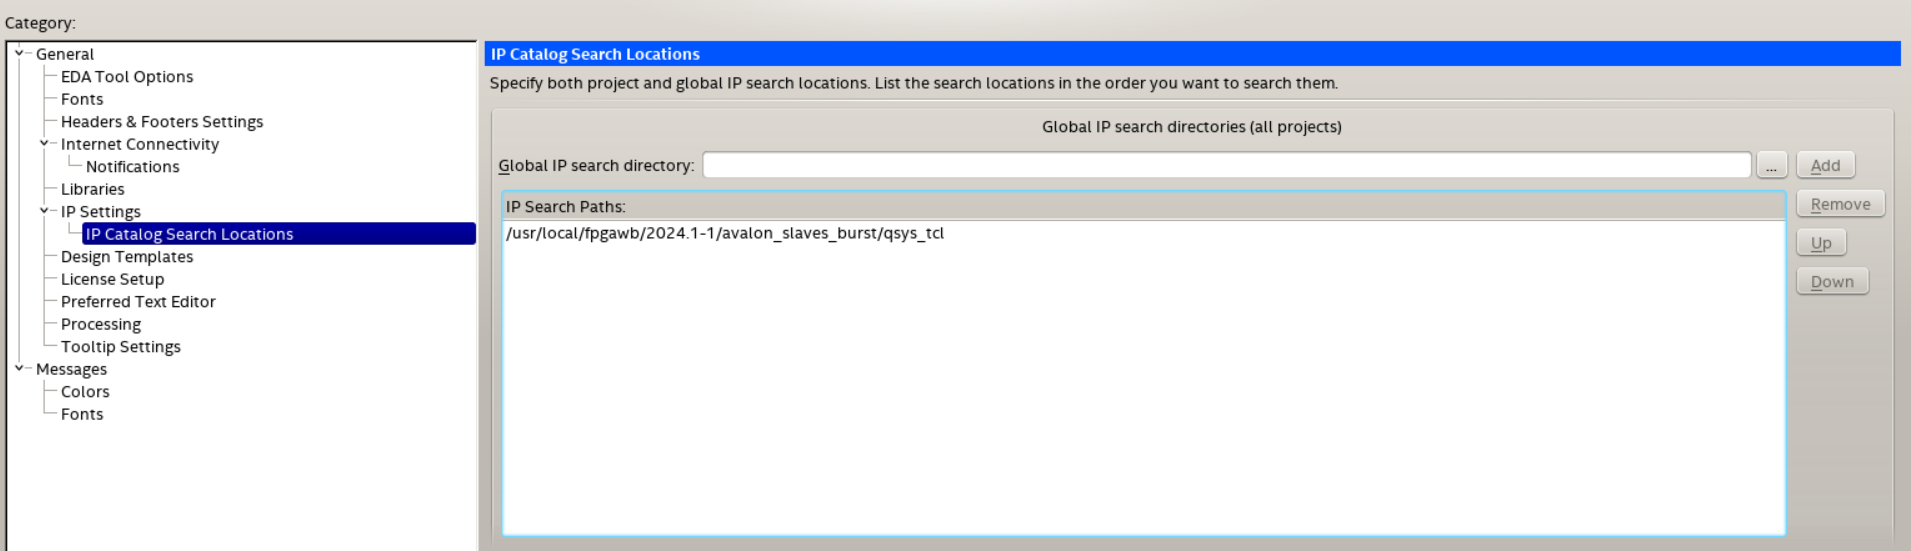
Click OK to apply the changes. You will now be able to use the Concurrent Real-Time IP cores inside Quartus and QSYS.
If you use FPGAWB User Module IP you will need to include the path to the custom source Verilog files. Please refer to the User Module quick start guides located in the <fpgawbinstalldir>/<version>/DOCS